
Snowflake Sideways French Manicure Nail Art Tutorial
Snowflake Sideways French Manicure Tutorial
Happy Mani Monday peeps! I hope you all had a fun weekend. Now that we’re into November the holiday collections are starting to roll out. The holidays, already, ugh! I’m so not ready for that. But I do love holiday nail polish colors and while I was playing with the new China Glaze Twinkle collection, I came up with this twist on a Sideways French Manicure. Enjoy!
![]()
Sideways French Manicure Tutorial
I love how chic and sleek a Sideways French Manicure looks. A traditional French is so not me but this variation is eye-catching and unique. And I’ve been wanting to try glitter placement so, the white hex glitter in China Glaze Chillin With My Snow-mies played perfectly into this look as they look like tiny snowflakes on the nail.
Snowflake Sideways French Manicure Nail Art Tutorial
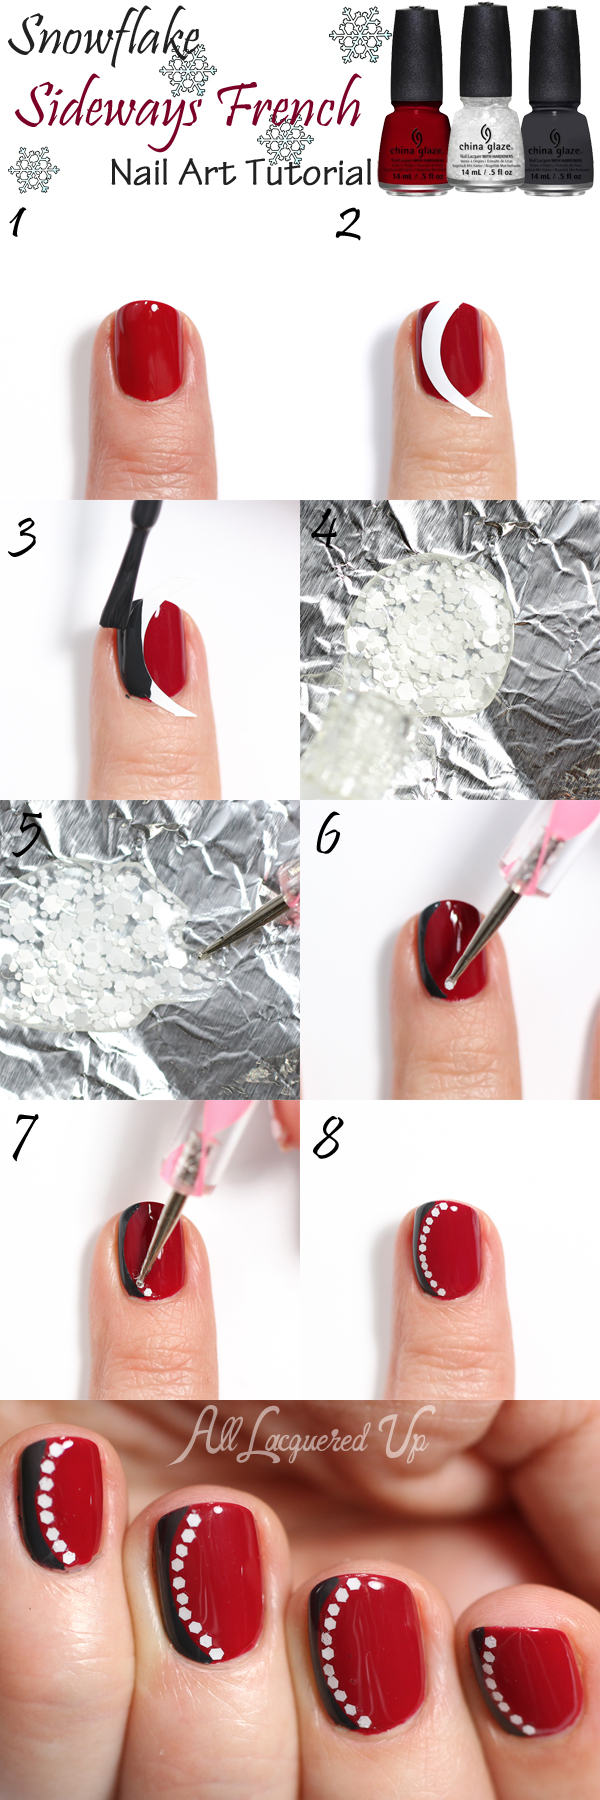
Get The Look
- Step 1 – Apply one coat of China Glaze Tip Your Hat. Wait for it to completely dry
- Step 2 – Apply French Manicure guides sideways on your nail, exposing a crescent shape
- Step 3 – Apply China Glaze Out Like A Light over the exposed area
- Step 4 – Pour out China Glaze Chillin With My Snow-mies onto a piece of aluminum foil or a plastic palette
- Step 5 – Use a dotting tool or toothpick to separate out the smallest hex glitter particles
- Step 6 – Pick up individual glitter particles with the dotting tool
- Step 7 – Place the glitter along the Sideways French line
- Step 8 – Seal in the design with a fast drying top coat. I used Nails Inc Kensington Caviar Top Coat.
![]()
In terms of application, both Tip Your Hat and Out Like A Light are phenom. I mean, Tip Your Hat is a ONE COAT RED! Gotta love that. And it’s got just the right hint of cherry to make it feel cool and wintry. Plus, I love the thin China Glaze brush, as I professed in my Top 10 Nail Polish Brushes post, because it makes getting a clean line at the cuticle a breeze.
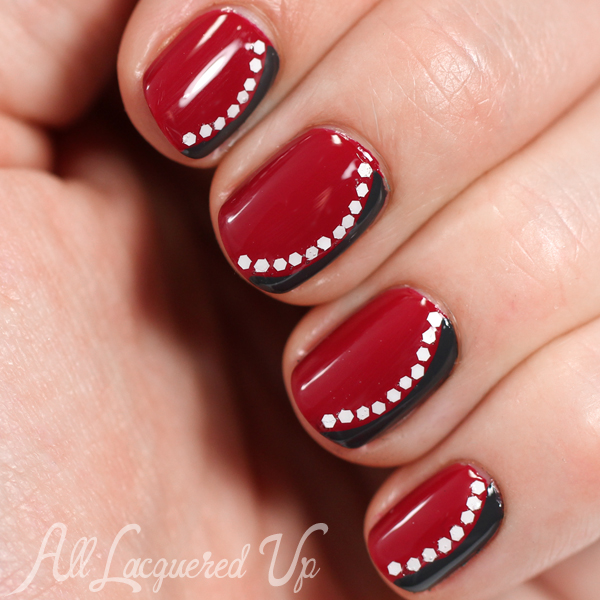
Snowflake Sideways French Manicure
![]()
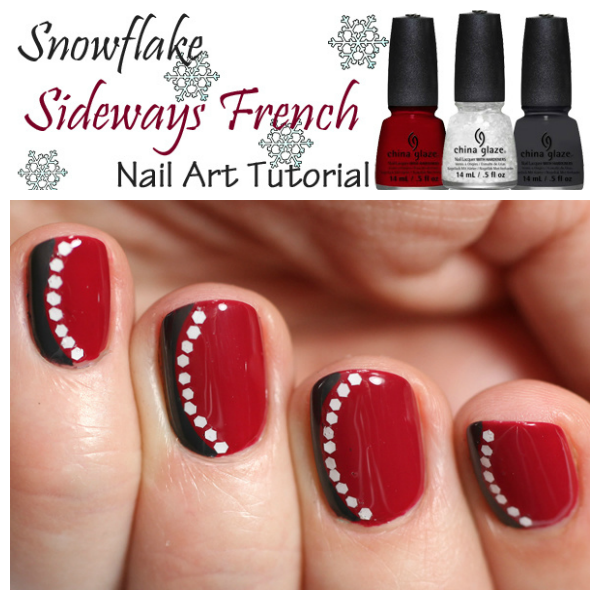
Sideways French Manicure Tutorial
The China Glaze Twinkle collection is available now at salons nationwide including Sally Beauty and ULTA and online at SallyBeauty.com and ULTA.com. China Glaze nail polish retails for $7.50/ea.
What’s on your nails for Mani Monday? Do you like the Sideways French look? Will you give my version a try?
Disclosure: Product samples were provided by reps for China Glaze. Affiliate links appear in this post. When you purchase through an affiliate link, you help support this site. For more info view my Disclosure Policy.


This is SO gorgeous! I am going to be trying this.
Thank you Kristina! I hope you’ll share a pic if you do. I would love to see.
Very cool. I love picture tutorials, so this was fun to see!
Thanks Austen! I’m glad you like the tutorial
So excited to try this. So chic AND festive. Love it.
Thanks Ashley! If you give it a go, Tweet/Instagram me a pic. I’d love to see.
Oh, such loveliness! I would keep that manicure as long as possible. It’s a great look for the holidays. My manicure is not as dramatic, Zoya Kalista – I’m loving the shimmery brown for November.
I did keep it as long as possible. It was so fun and received so many compliments. Kalista is a gorgeous color. Great choice!
How pretty!
Thank you Lisa!
Very cute and different–I love this!
Thanks Jammies! It was fun to do.
What a beautiful idea for a manicure. I’m going to have to try this,
Thank you! If you do, tweet/Instagram me a pic.
that looks so awesome!
Thanks Kel!
Welcome back! Plus I like the mani. I’ve tried the sideways French before but it never works out perfectly. I guess I just need to keep at it lol
Thanks Amanda! What goes wrong when you try it? Making sure the tip guide is pressed down is key to getting a clean line with no leaks. Also, wipe the brush REALLY well to avoid spilling over to the other side.
Lol where do I start… It’s inevitably one of the following: when I peel up the guide, it either pulls up or smears the edges of the freshly painted polish or (no matter how long I let it dry) peels up the base color. The guide edges sometimes ripple/bubble up along the edges as I start painting the sideways part which then allows polish under it. it seems like I’ve had one other problem but I can’t recall what at the moment… I’ve tried doing a fast dry top coat over my base color and still waiting a while to paint the top one, thinking that maybe that would help, but no dice. lol I think I’ve managed to have it fully work out on all 10 fingernails ONCE and not have to have redone at least 2-3 fingers. I figure it will end up being like stamping was; frustrating as hell and didn’t want to work until I was ready to give up completely, and then BAM it will magically work. lol
I always use a top coat on the base because when I don’t, it doesn’t make how long I let it dry, it still peels up. Though I hear you on the comparison to stamping. I can never get stamping to work for me. Maybe it’s the guides I use. They seem to be stickier than the thinner ones I’ve used from Sally Hansen or Orly.
What brand do you use? Maybe I should invest in some slightly more expensive ones. I got the ones I’m currently using from Amazon… it’s a nifty pack as it has a bunch of different styles. http://www.amazon.com/gp/product/B00KC9NPNI/ref=oh_aui_detailpage_o07_s00?ie=UTF8&psc=1 they were pretty cheap lol but they’ve worked just fine for other stuff that I’ve tried. I might not have tried the sideways French with them yet since I kind of gave up for a while. lol
I love this idea Michelle you are so creative. I love you site so much that if I don’t see something from you two days in a row; I start to worry.
God bless you and your talent.
Aww, thank you Julia. It’s been a rough couple months but I’m getting back on track with regular content. Thanks for the kind words and for checking in on me.
This is such a beautiful manicure! I’m definitely going to try it out.
Thank you! It’s so easy but creates a visual impact.