PinspiratioNAIL – Spun Sugar Nail Art with Revlon Brilliant Strength Nail Enamel
During the TV slump that occurs every year between the season finales and the start of my fave summer guilty pleasure, Big Brother, I find myself aimlessly channel surfing on my nights home. A couple weeks ago I hit on The American Baking Competition, featuring a self-proclaimed “redneck” named Francine firing off gems like, “it’s slap your mama good!” I couldn’t resist.
During one of the episodes, the competitors were challenged with making croquembouche, a tower of creme puffs (or choux) held together with threads of caramelized sugar. It made me think of the spun sugar nail art designs I’ve been eyeing on Pinterest. Using the new Revlon Brilliant Strength Nail Enamel, I decided to give the look a try.
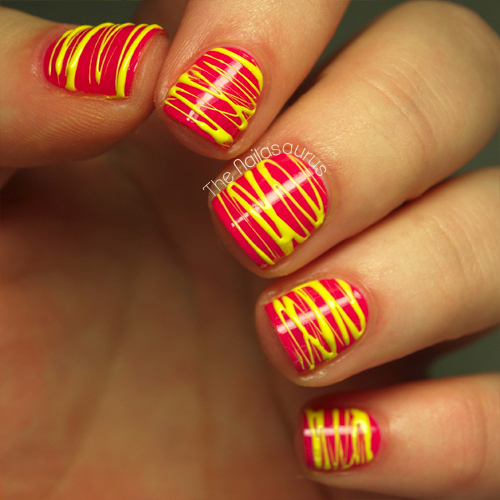
The Pinspiration: I’ve seen a lot of variations on spun sugar nail art but it wasn’t until The Nailasaurus’ version came through my Pinterest feed that I gave it a second thought. I love her color choice and that it’s textured without being over-the-top chunky.
![]()
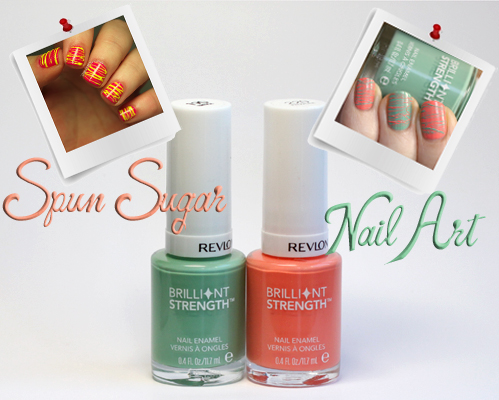
For my take on the Spun Sugar manicure, I chose a couple of energized pastels from the new Revlon Brilliant Strength Nail Enamel line.
Using the same slightly curved, flat brush I’ve come to love in the Revlon ColorStay line, the Brilliant Strength polishes are base coat, color and top coat, all rolled into one. Plus the formula includes Camellia Oil, Rice Bran Oil, Vitamin E and Lotus and Pearl Extracts to condition, protect and hydrate your nails.
I’ve used a few Brilliant Strength colors so far and all of them are well pigmented, smooth and quick drying. For this design I used Entice (mint creme) and Provoke (peach creme). I made a short video to break down the application process, step-by-step. CLICK HERE to view on YouTube.
Essentially, you are pooling the polish on a piece of cardboard and letting it thicken until strings form when you dip a dotting tool or toothpick in it. Note: I start dragging the threads across my nails earlier than most because I like the variation in size and how it gives kind of a cobweb appearance.
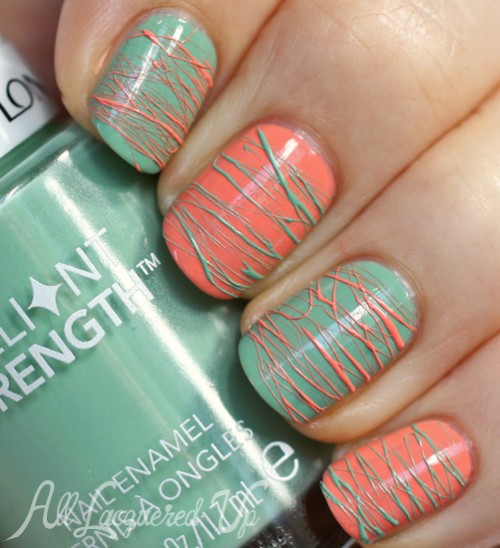
Spun Sugar Nail Art with Revlon Entice and Provoke
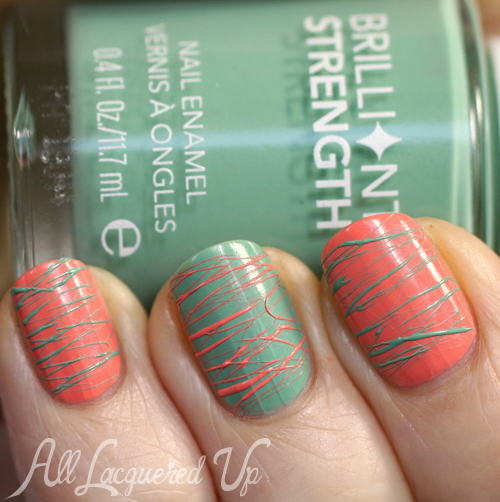
Revlon Brilliant Strength Spun Sugar Nail Art
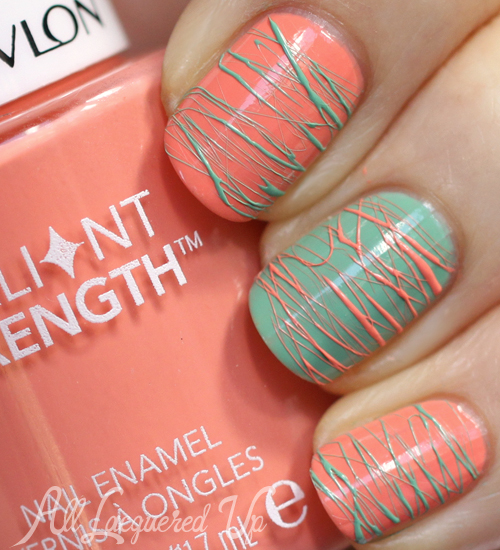
Spun Sugar Nail Art with Revlon Brilliant Strength in Entice and Provoke
![]()
Revlon Brilliant Strength Nail Enamel comes in 24 shades and is available at drugstores and mass retailers nationwide. The nail polish retails for $7.99/ea for a .4oz bottle.
Are you into my take on the spun sugar look? Have you tried this technique? Have any tips to share? What do you think of the new Brilliant Strength polishes from Revlon?
Disclosure: This post is sponsored by Revlon and Style Coalition. Product was provided by Revlon. Affiliate links appear via Skimlinks. For more info view my Disclosure Policy.









I love these polishes, they are amazing, and I think I will have to give the spun sugar look another try
Did something go wrong the first time you tried it? I’m really happy with how this turned out
I really like how your spun sugar is thin… I did one recently and it didn’t quite work out how I wanted to – I think it may have been the polish I used (Barry M gold). I heard it works great with cremes and a dotting tool.I just let mine sit there for a while and then started stirring it so next time I’ll stir as I wait for it to dry that will probably help.
Though adding top coat minimizes the texture it helped me clean off the mess i created on the skin around the nails hehehe
And Entice is probably my favourite shade from that whole range!!! So nice!
I started pulling the threads a bit earlier than other tutorials I’ve seen since I wanted thinner threads.
How long did you wait before applying top coat? I would worry about blurring the design.
I love how it looks, and the colors you’ve chosen are nice too. I have not tried these polishes yet, but the formula looks like it’s perfect for this effect.
Thanks Gwen! I’m really happy with how it turned out. I’ve actually worn the look twice now, I enjoy it that much
I really like this! I can’t see the video, however; there’s just a blank space (maybe because I’m on an iPad? I have trouble viewing videos with it, still learning, not sure if it is me or the device that is lacking!) Is there a link to YouTube or an alternative way to see the video tutorial? I’d really like to give this a try!
Sorry, that it’s not showing up. Here is the link to view it on YouTube http://www.youtube.com/watch?v=zkCzju_1S2c
Thanks! I definitely have to give this a try!!
Love this color combo! I’ve done this method once and I used black and white – it’s a fun mani to do!
I bet that looked cool, very graphic.
Very cute combo!
Thank Olivia!
How cute is this! Love it and will definitely give it a go! Love your choice of colours!
xx
Thanks! Let me know how it goes for you
It reminds me of chocolate truffles, like Godiva’s. Nom. I might try this, assuming I can manage it! Just hope I get decent results with a tooth pick; I don’t have a dotting tool since I don’t do my nails that often >_>
I never thought of that but it totally does. Now I want truffles, thanks!
This is a much better color combo than I chose…it was white with red. My friends thought it looked rather gruesome!
This looks great!
I can see how that color duo might not work but white and black might look cool
I love this so much! The color combo you used is beautiful!
Thank you Lu! I’m glad you like it
Love the color combos that both of you used!
Your thin and thick “sugar” strands look really neato- kind of a dichotomy between naturalistic and futuristic. Me likey.
Thanks Rita! By pulling my threads earlier than most, I’m able to get strands of multiple sizes. I prefer that to them all being thick.
Gorgeous color combo!
Thank you!
Looks cool! I’ll have to try this look.
AWESOME nails I wish I can do that my self.
Thanks Mia! It’s actually very easy, just time consuming. I’m sure you could do it.