Tips and Tricks
Hand Cream Hack – The Trick to Up Your Hand Care Game
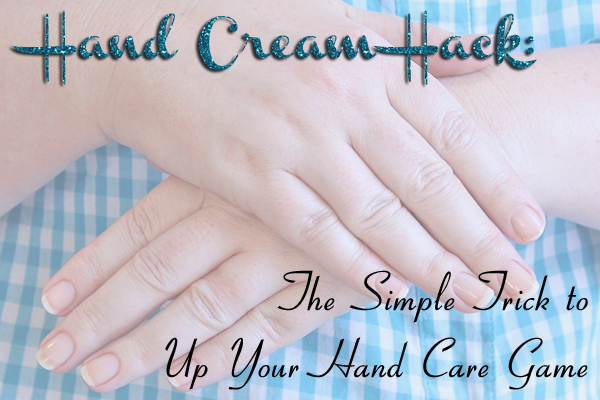
Hand Cream Application Tip
I’m kind of a hand cream freak. I have bottles spread all over the house and in every one of my bags. I refuse to be the victim of that whole “your hands show your age” nonsense. One way I battle time marching over my hands is how I apply my lotion. I never thought my technique was that different until I noticed people looking. It’s one of those things that doesn’t come naturally, but when you see it, you’re all, “Duh, why didn’t I think of that?” Continue Reading »
Winterize Your Hands & Nails – Cold Weather Hand Care Tips

Winter Hand & Nail Care
If you live in a cold, dry climate, you winterize your home, car and more than likely your skin care routine but what about your hands? Given the below-freezing windchill temps that typically plague Cleveland, I’ve become acutely observant of the state of my hands and nails during the winter.
Unless you wear gloves 24/7, your hands get almost as much air exposure as your face. And given the other downsides of winter, no one wants to add dry, chapped skin or brittle, peeling nails to that list. It’s time to rescue your hands from the effects of the frozen tundra and get your winter hand care routine on point, yes on point (I can’t with “on fleek”).
I’ve teamed up with Sally Hansen to share my favorite cold weather hand care tips with you.
Continue Reading »
New Year, New Nails! Tips to Improve Your Naked Nails
New Year, New Nails!
The first #NailGlossip chat of the year focused on bad habits and solutions to help your nails look better in the coming year. The best place to start is by nailing down (pun totally intended) a set manicure routine and scheduling a regular nail date with yourself.
To inspire you, I’ve teamed up with Sally Hansen to share the manicure steps that rescue my genetically weak digits from looking a hot mess. Using these simple tips, you can proudly take your naked nails in public.
Continue Reading »
Gel Nails – Gel Polish? Gel Hybrid? Gel Effect? Let’s Break It Down!
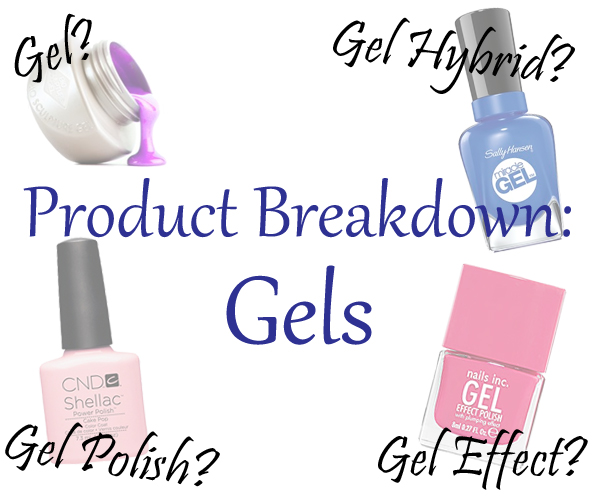
Gel Polish and Hybrids Breakdown
With every brand and their mother putting out a product with “GEL” in the name, nail world is becoming a very confusing place. The introduction of CND Shellac started a gel nails craze that has prompted more traditional polish brands to jack its style, producing products that promise gel-like results.
But here’s the problem. Gel Polish, Gel Hybrid, Gel Effect, Soak-Off Gel, UV Gel. What do they all mean? All this terminology makes it hard to decipher how a product applies and performs so I’m here to break down the differences for you.
Continue Reading »
Top 10 Best Pedicure Products, Tools & Tips
Summer is the roughest season on our feet. Sandals expose them to the elements, barefoot walks on the beach, hot concrete or even hardwood floors can all add up to dry skin, cracked heels and ragged cuticles. This week, the Top 10 Tuesday team is focusing on the best pedicure products and I’ve got my five essentials for you with “Splurge” and “Save” options. I’m also sharing my Top 10 pedicure tips, whether you DIY or go to the salon.